Navigation
...
Generally speaking, there are six types of views you will come across:
- Form view (displays a single record)
- List view (displays a list of records)
- Kanban view (displays record cards)
- Calendar view (displays records mapped to a calendar)
- Pivot views (displays your data in a pivot table)
- Graph views (displays your data in a visual graph)
Form views
Introduction
A form view displays a single record together with all of its fields. By default the form view is read-only, i.e. only displaying the fields. If you want to edit the form view, click on the Edit button located just underneath the bread crumbs on the control panel. In edit mode, the fields can be changed. Once you are done editing the record, you can click on Save; also located just underneath the bread crumbs.
...
Generally speaking, there are three types of kanban views, each of which has a different purpose:
- Card kanban (displays many records in the form of business cards)
- Swim lanes (displays cards sorted into different columns)
- Dashboards (displays statistics and graphs)
Card kanban
A good example of a card kanban is in the Contacts application. The idea behind it is to organise data in a business card format, showing you an avatar and some basic information. By clicking on a card you will be taken to the form view of that record.
...
All of the fields available on the model you are viewing data on (in this case opportunities) are available to create a 3-dimensional view. Similar to graph views, you can also select measurement fields in the measure drop down below the bread crumbs on the control panel. Use the "+" and "-" icons to expand or contract your view. Use the action drop down to export your pivot view to Excel.
...
Importing data
Click on the Import button that is visible on any list view. This will open up the import wizard where you can select your file and map the fields.
| Info | ||
|---|---|---|
| ||
You can export your pivot view to Excel by clicking on Action → Download to Excel. |
Importing and Exporting data
TaskFlow is built closely
Select the file you want to import that is either a CSV or XLS file. Map your file's columns with the existing fields within the current model (in this case it is customers). Fields that are an exact match will be filled in automatically. You can search for existing fields by clicking on the drop down (in our example "ID Number").
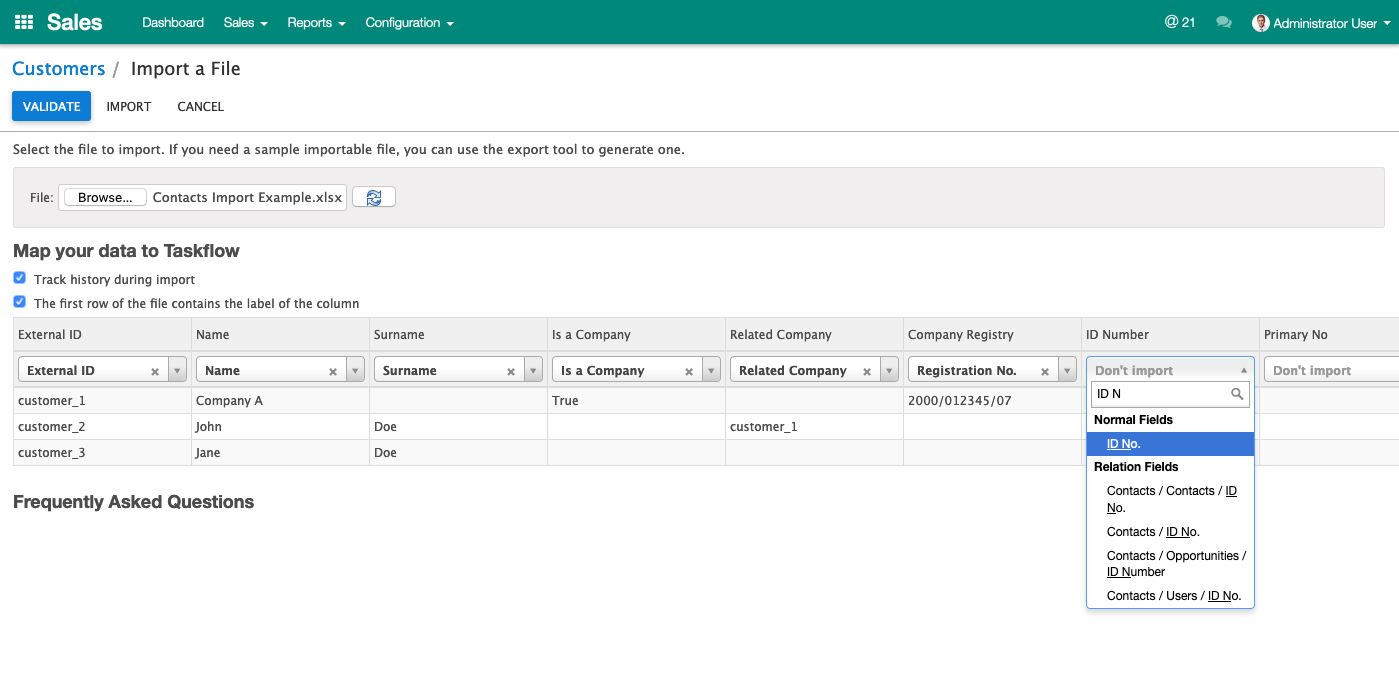
Once you are happy with the import, you can click on Validate and once validated you can click on Import.
You can download an example file for customers here.
Exporting data
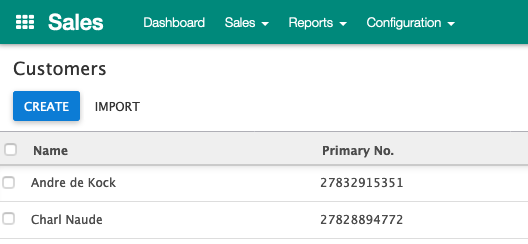
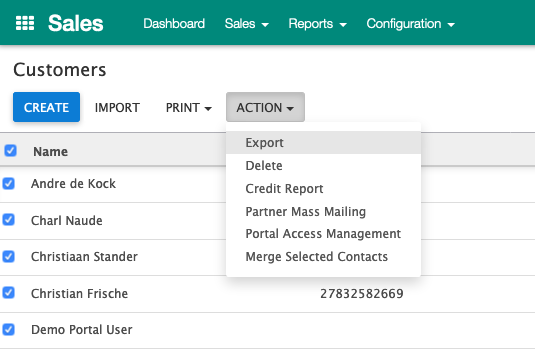
Users with elevated access rights can export data from the system by going to any list view, selecting the records and clicking on Action → Export.
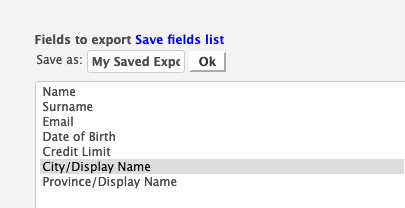
A wizard will open up that will allow you to choose the fields you want to export. Choose Export all data and choose the fields. Some fields have arrows next to them. These are relational fields can be opened up and you can choose fields on them. You can generally use the Display name for relational fields.
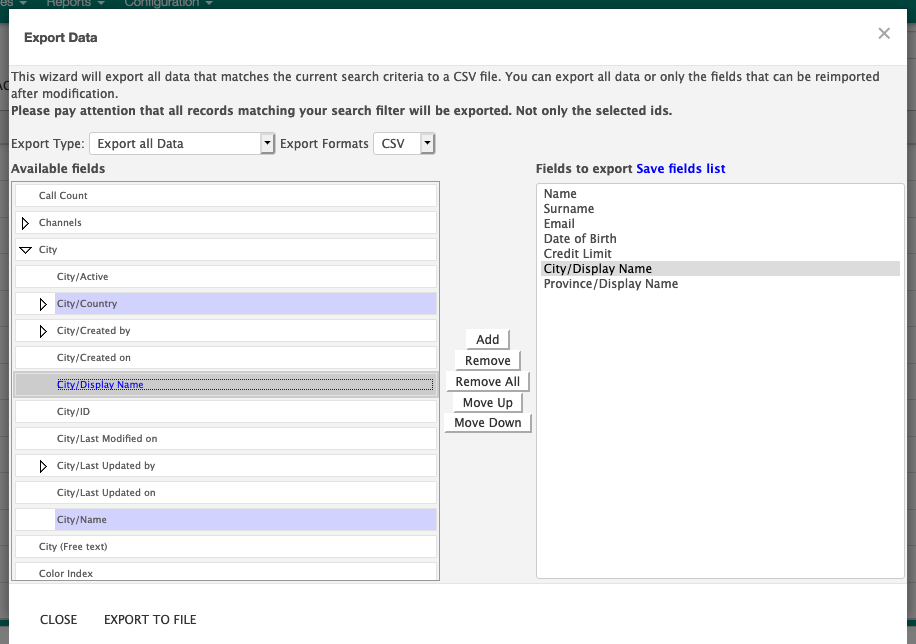
When doing the exports on a regular basis, you can save your field selection so you can easily choose the same fields in the future.